Can a Worn Leather Grain Texture Be Recreated During Restoration?
Most people notice a bad repair before they can say why. Nine times out of ten it is texture — a smooth patch inside a grained panel.
Quick answer
Yes, on embossed and corrected-grain leather, where the original texture was itself pressed from a patterned roller and repeats — a matching grain paper reproduces it convincingly. On natural full-grain and aniline hides the texture is irregular, so a pressed pattern is a regular texture inside an irregular one and remains detectable under raking light. Texture matching is the stage most often skipped, and it is the usual reason a well-colored repair still looks like a repair.
At a glance
| Matches well | Embossed, corrected-grain and vinyl — the pattern repeats and can be reproduced |
|---|---|
| Matches partly | Top-grain with a light finish — close, with care over the blend |
| Hardest | Full-grain and aniline — natural irregular surface cannot be pressed |
| Why it matters | Texture, not color, is what usually gives a repair away |
| Order of work | Texture goes in before color, never after |
Why texture gives a repair away before color does
Ask someone how they spotted a bad repair and they will usually say it looked wrong rather than that the color was off. What they noticed was texture.
Light interacts with a grained surface in a complicated way. Thousands of tiny peaks and pores each cast a small shadow, and the aggregate is what our eyes read as leather. A smooth area inside that field reflects light cleanly and reads as a flat patch, even when its color is a perfect match.
It is most obvious under raking light — sunlight across a sofa in the afternoon, or a lamp to one side — which is exactly the light most rooms have at some point in the day.
This is why texture matching is not a finishing touch. It is the stage that determines whether the repair is findable.
How grain is rebuilt
The method is simple in principle and demanding in execution.
After the damaged area is cleaned, backed if necessary and filled with flexible filler in thin layers, the final layer is left at a stage where it is firm but still receptive — no longer liquid, not yet cured.
A grain paper — a sheet carrying a negative of the required texture — is laid onto that surface and pressed, usually with warmth, so the pattern transfers into the filler.
The paper is lifted, the result is checked against the surrounding leather, and if the impression is shallow or misaligned the process is repeated before the filler hardens.
Only then does color go on. Coloring first and texturing afterward smears the pigment and produces a muddy, uneven result — which is why the order is fixed.
The timing window is the skilled part. Too early and the filler slumps and loses the impression; too late and it will not take one at all.
Why embossed leather matches so well
Corrected-grain leather, most modern furniture leather and all automotive vinyl have one thing in common: their texture was created by pressing a patterned roller into the surface during manufacture.
That means the pattern repeats at a fixed interval. Find the repeat and you know exactly what the texture is.
A grain paper matched to that pattern reproduces it accurately, so a repaired area carries the same peaks, pores and spacing as the leather around it. Under raking light there is nothing for the eye to catch.
Specialists keep a library of grain papers for exactly this reason, and part of assessing a job is identifying which pattern the piece uses.
This is the main reason ordinary family furniture repairs so much better than expensive hide: it was made with a reproducible surface.
Why natural grain cannot be reproduced
Full-grain and aniline leathers have a surface that was never pressed — it is the animal's own hide, with whatever variation it grew.
Pore density changes across a panel. There are healed scars, growth wrinkles, and areas where the fiber structure is denser than others. No two square inches match, and that irregularity is precisely why people pay for these hides.
Pressing a grain paper into a repair on such a surface produces a regular, repeating texture inside an irregular field. It is closer than a smooth patch, and it can be very close indeed on a small repair, but under raking light a trained eye finds it.
There are partial mitigations. Multiple papers can be used across a larger repair to break up the regularity. The impression can be varied in depth. Some specialists build texture manually for small areas.
But the honest expectation is very good rather than invisible, and hearing that in advance is what separates a satisfied customer from a disappointed one.
Restoring texture that has worn away, not been damaged
There is a second, quieter version of this problem that owners often do not name correctly.
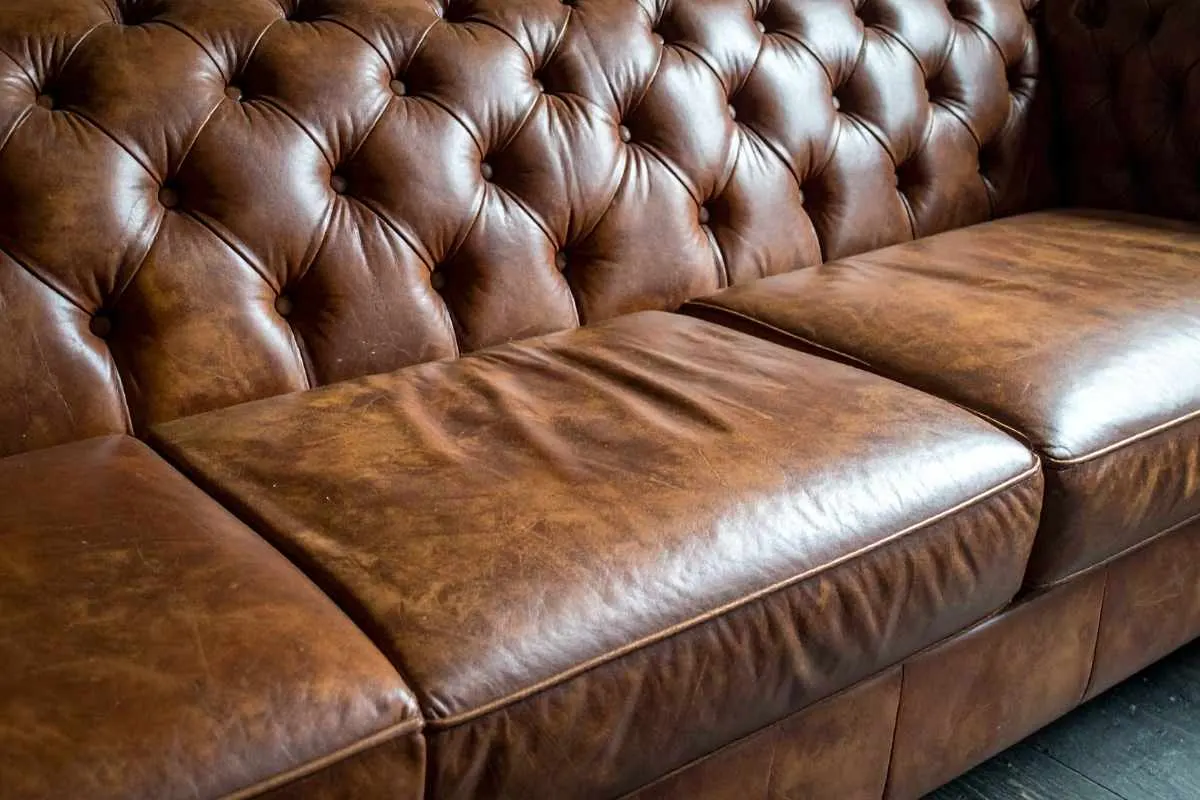
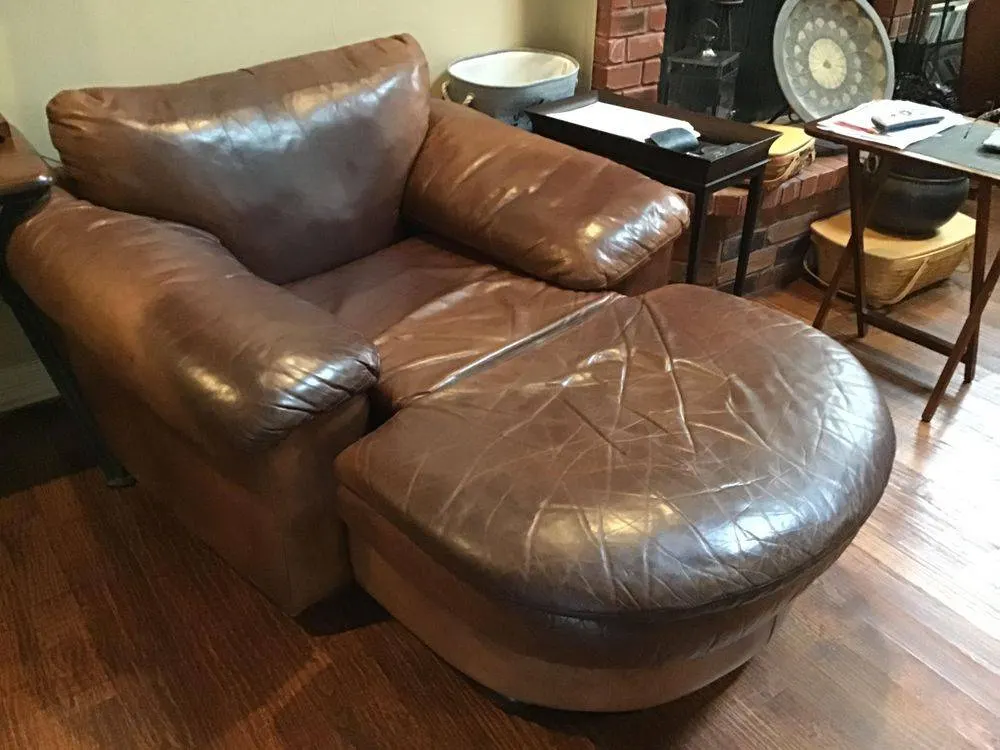
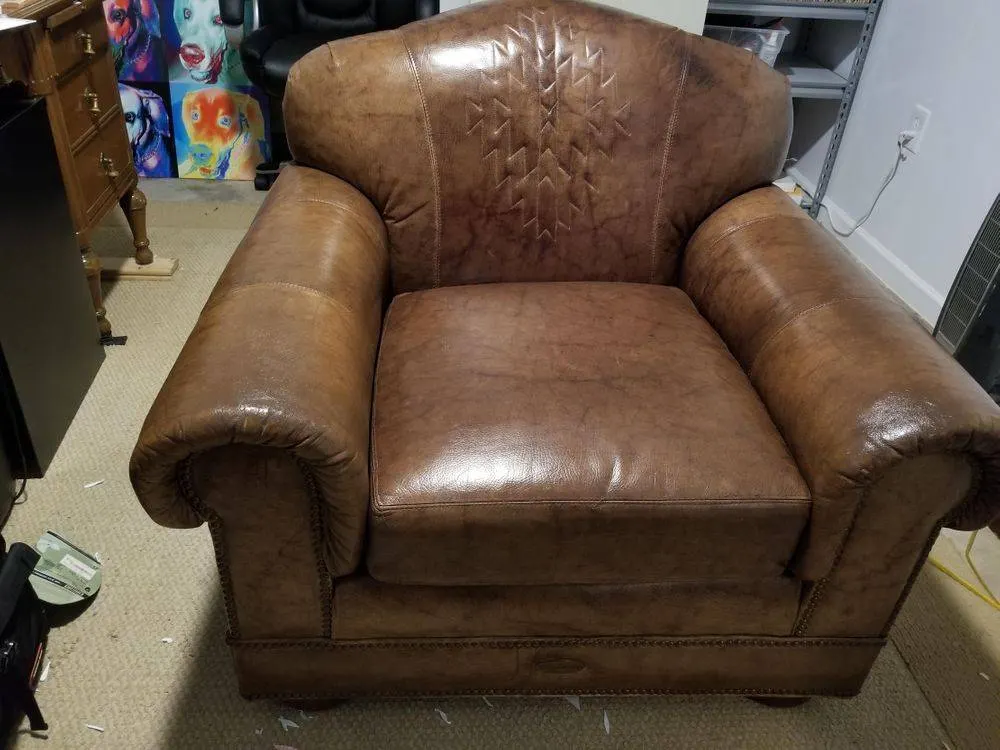
On heavily used areas — a seat front, an arm crown, a bolster — the grain does not get cut or torn. It gets polished away. Years of friction wear down the peaks of the texture until the surface is smooth and slightly shiny, while the leather itself is intact.
That is why a well-used sofa can have a seat that looks glossy and a back that still looks matte and grained. It is not dirt and it is not a different material.
The fix is the same process applied across the whole worn area rather than a small repair: level any unevenness with filler, re-emboss the grain, then recolor and seal to a sheen that matches the rest of the piece.
Done across a full panel it is genuinely transformative, because it restores the light behavior of the surface rather than just its color. A sofa that has had its grain rebuilt reads as new in a way that color alone does not achieve.
Sheen: the other half of the same problem
Texture and sheen work together, and getting one right while missing the other still produces a visible repair.
Sheen is how much light the surface reflects specularly — matte scatters it, gloss returns it. A repaired area finished at a different sheen from its surroundings shows up as a bright or dull patch regardless of texture and color.
Worn areas complicate this because friction raises sheen. The seat front of an old sofa is glossier than the back, so matching a repair on the seat to the back's sheen produces a mismatch, and matching it to the seat's polished sheen preserves the wear.
The right answer is usually to bring a whole panel back to a consistent sheen rather than matching a repair to a worn value.
Sheen is chosen at the topcoat stage, and it is a decision worth being asked about rather than assumed — it changes the character of a piece as much as color does.
What to inspect on a finished repair
Knowing what to look for makes it possible to judge the work rather than take it on trust.
Look at the repaired area from a low angle across the surface, with light coming from the side. This is the raking-light test, and it is the condition under which texture problems appear.
Run a hand across the boundary. The texture should feel continuous — the same roughness on the repair as on the leather either side of it.
Check the sheen by moving your head rather than the light. A patch that brightens or dulls as your viewing angle changes has a different topcoat from its surroundings.
Then look again in the evening under the room's artificial light. Surfaces that match in daylight can differ under a warmer, more directional source.
A good repair passes all four. A repair that passes on color and fails on texture is the most common outcome when the texture stage was rushed.
Why this matters more in this climate
North Texas conditions produce a lot of the wear that specifically destroys texture.
Dry conditioned air stiffens a finish, and a stiff finish abrades rather than flexing under friction. So the same amount of use polishes grain away faster here than in a humid climate.
Strong UV degrades the binder holding the finish together, which has the same effect from a different direction — a brittle surface loses its peaks more readily.
The result is that furniture here reaches the smooth, shiny, worn-grain state relatively early, often before there is any tear or crack to point at.
For owners the useful implication is that a sofa which has gone shiny on the seats is not simply dirty. It is a candidate for grain restoration, and doing it before the surface starts cracking keeps the job in the cheaper category.
Getting texture assessed properly
This is one of the assessments where photographic technique genuinely changes the answer.
Photograph an undamaged area of the leather from about six inches away with the light coming from the side, not from behind the camera. Raking light is what makes grain visible; flat light hides it.
Take a second shot of the same area with the phone's flashlight held low and to one side, which exaggerates the texture and shows the pattern clearly.
Photograph the damaged or worn area the same way, so the two can be compared directly.
If you can see a repeating pattern in the grain, mention it — it confirms an embossed surface and a good matching outlook.
And absolutely no flash. Flash from the camera position fills every shadow in the grain and produces an image in which all leather looks smooth, which is the single least useful photograph for this question.
If you can, include a photograph of an area that gets no use at all — the outer side of an arm, or the back of the piece. That is the closest thing to an original sample of the grain, and comparing it with a worn seat shows exactly how much texture has been lost and therefore how much has to be rebuilt.
Say whether the surface has become shiny as well as smooth. Polished grain and lost grain are the same process at different stages, and the distinction changes the recommendation: an area that is merely burnished sometimes responds to cleaning and re-conditioning, while one where the peaks have gone needs levelling and re-embossing.
And mention how the piece is used, because texture restoration on a heavily used seat has a different lifespan from the same work on a decorative chair. That does not change whether it is worth doing, but it does change what topcoat should go over it and how often the piece will want conditioning afterward.
Questions we get asked next
- Why does my repair feel smooth compared with the rest of the sofa?
- The texture stage was skipped or the impression did not take. It is the most commonly omitted step, because color alone looks correct in flat light. Raise it with whoever did the work — on an uncured repair it can sometimes be redone, and on a cured one the area can be re-levelled and re-embossed.
- Can grain be added to leather that never had much?
- It can be embossed onto a filled area, but changing the character of an entire panel is a different proposition. On a smooth or lightly grained hide, adding heavy grain would look wrong against the rest of the piece, so the aim is always to match what is there rather than to improve on it.
- Is texture matching included in a standard repair?
- It should be, on any grained surface. It is worth asking specifically how the grain will be matched, because the answer distinguishes someone who works to a full process from someone who fills and colors.
- My seats have gone shiny and smooth. Is that repairable?
- Yes, and it is one of the more satisfying jobs. The polished area is levelled, re-embossed with matching grain, then recolored and sealed to the correct sheen. Because it restores how the surface handles light, the result reads as new rather than merely clean.
- grain
- texture
- restoration