How On-Site Leather Color Mixing and Blending Actually Work
Color matching is not a lookup. It is mixing by eye against your actual furniture, in your actual room, and testing it twice.
Quick answer
A specialist carries a small set of base colorants and builds the match on site, testing it against the material immediately next to the repair. The mix is checked under daylight and again under the room's own lighting, because a match correct under one can be visibly wrong under the other. That second check is the reason it cannot be done in a workshop or from a photograph.
At a glance
| Built, not looked up | Mixed from base colorants against the actual material |
|---|---|
| Two light checks | Daylight and the room's own lighting — both matter |
| Why on site | A match made elsewhere can fail in your room's light |
| Tested first | Confirmed on a hidden area before the full application |
| Sheen separately | The topcoat is chosen after the color, not with it |
Why it is mixing rather than matching
The word matching suggests finding an existing color that corresponds, and that is not what happens.
There is no catalog to search. The color needed is whatever your specific item has become after however many years of light, use and cleaning.
No manufacturer produces that color, because it is a product of your item's history rather than a specification.
So it is built. A specialist works from a set of base colorants and combines them until the result disappears against the adjacent material.
That is a craft skill closer to how a painter mixes on a palette than to how a paint store matches a chip.
It is also why it takes real time on a job, and why a quote that includes proper color work costs more than one using a standard color from a bottle.
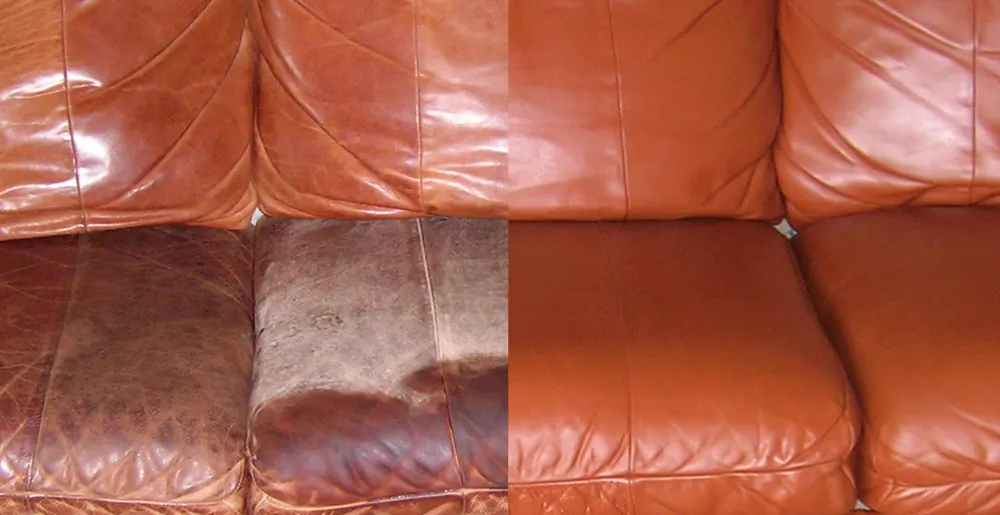
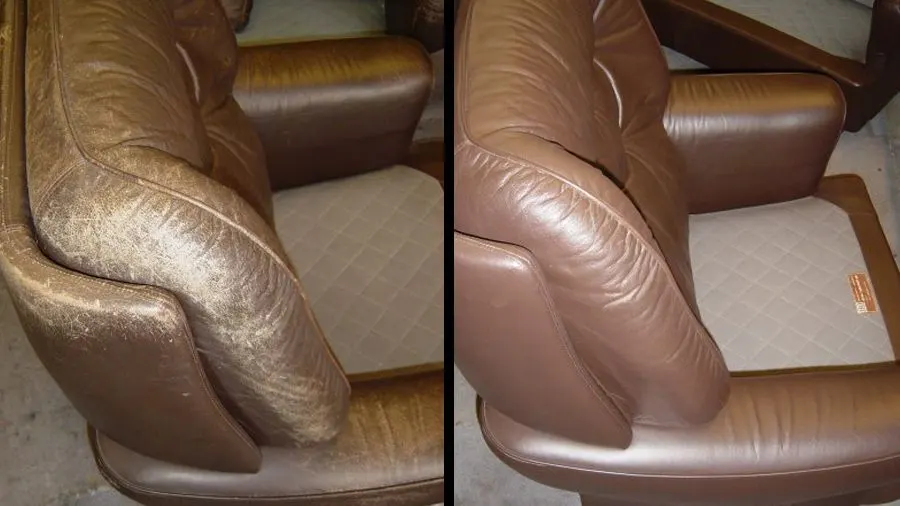
The alternative — a pre-mixed color close to yours — is exactly what produces a repair that reads as a patch.
What is actually in the kit
A small set of components, used in combination, rather than a large range of finished colors.
Base colorants in the primary and secondary ranges, plus black and white, which between them can build most colors.
Specific pigments for the tones that come up repeatedly in upholstery — the tans, browns, reds and the various blacks.
Binders and carriers, which affect how the color sits on the surface and how flexible it stays.
Reducers, for adjusting consistency so the color goes on in thin even coats rather than heavily.
Topcoats in a range of sheen levels, chosen separately after the color is settled.
And test cards or a means of applying a sample without committing it to the item.
The kit is deliberately small, because a specialist mixing from a handful of bases can reach any color, while one carrying a hundred finished colors can still only reach a hundred.
How the match is built
The process is iterative and it goes faster than it sounds.
It starts with a judgment about the overall family — where the color sits in tone and hue.
A first mix is made and applied to a test card or a hidden area, thinly, as it will actually be applied.
That matters. Color looks different in a pot from how it looks as a thin coat on a textured surface, so testing on the material is not optional.
It is allowed to dry, because most of these materials shift slightly as they dry and a wet comparison is misleading.
Then it is compared directly against the adjacent material, held next to it rather than assessed from a distance.
Adjustments are made — a touch of one base to shift the hue, a touch of black or white to shift the depth — and the process repeats.
Two or three iterations is normal; a difficult color can take more.
It is confirmed before the full application rather than after, which is the discipline that separates a good result from an expensive lesson.
Why the light matters, and metamerism
This is the reason on-site mixing exists and it has a name worth knowing.
Two colors can appear identical under one light source and visibly different under another. That effect is called metamerism, and it happens when the two colors reach the same appearance by different combinations of pigment.
It is a real and common problem in color work rather than a curiosity.
Practically it means a match made under daylight can be visibly wrong under a warm domestic lamp, and vice versa.
So a match is checked under at least two conditions: daylight, and the light the item actually lives in.
For a room lit by warm downlights in the evening, that evening condition is the one that matters most, because it is when the item is looked at.
This is also why a color matched in a workshop, or from a photograph, can be correct by every measure and still look wrong when the item is back in its room.
It is the single strongest argument for doing the mixing where the item lives.
Matching to the right reference
A judgment that affects the outcome as much as the mixing does.
The match is made to the material immediately adjacent to the work, not to an average of the item and not to a hidden original.
That sounds obvious and it is frequently got wrong, because a hidden area shows the original color and is tempting to use.
Using the original produces a repair that is correct against a surface nobody sees and wrong against everything they do.
On a piece with variation across it — a faded end and an unfaded end — the reference is the area next to the repair, and the transition is handled by extending the work to a seam rather than by feathering the color.
On a piece where the immediate area is itself damaged or discolored, the reference moves to the nearest sound material.
And where the whole piece is being recolored, the reference becomes a decision rather than an observation — match the current state, or take it back toward the original, which is the owner's choice to make.
Applying it in thin coats
The application matters as much as the mix, and the discipline is the same throughout this trade.
Color goes on in several thin coats rather than one covering coat.
Thin coats flex with the material. A thick coat sits on the surface as a shell and cracks at the flex points, which is what people mean when they say a repair looked painted.
Thin coats also build depth gradually, which allows the match to be assessed as it develops rather than committed all at once.
Each coat is allowed to flash off before the next.
Coverage is built to the point where the color is even, rather than to the point where the surface is thickly coated.
On a dark color over a lighter base, more coats are needed for opacity; on a light over a dark, more again.
And the edges are worked so the coverage fades rather than stopping at a line, which is what allows a repair to sit within a panel.
Sheen is a separate decision
Frequently overlooked, and on some materials it matters more than the color.
Once the color is right, the topcoat determines the sheen — matte, satin, semi-gloss.
Every finish has a sheen level and it changes as an item ages: contact polishes surfaces, sun flattens them.
So the sheen has to be matched to the item as it is now, exactly as the color does.
It is tested on a hidden area, viewed at an angle rather than face-on, and adjusted.
It is a separate step because a color and a topcoat are separate products, and using whatever finish came with the color is the default that produces mismatches.
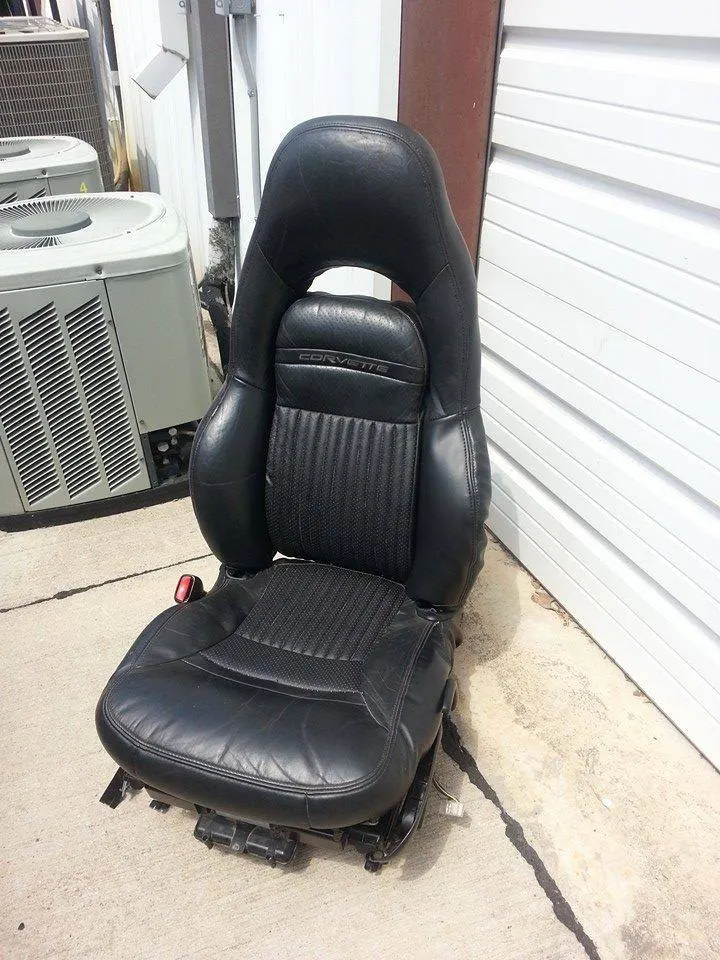
On black and on very dark colors this is the dominant variable, since reflectance carries almost the entire appearance.
And on a whole-piece job it becomes easier, since the sheen is chosen once and applied consistently.
Where the mix is recorded
A practical point that matters for anything that might need more work later.
For a single repair, the mix is used and the job is finished.
For a multi-item or phased project, the mix should be recorded so later phases can match earlier ones.
Materials change, ranges get discontinued, and a color matched by eye three years later against items that have themselves aged will not match phase one.
So a documented mix, plus a physical sample kept somewhere controlled, is part of any project spanning more than one visit.
It also protects the client commercially, since it allows later phases to be done by someone else without losing consistency.
For a commercial site with a standard color across many items, recording it once turns every subsequent visit into a repeat rather than a fresh exercise.
It is a small piece of admin that saves a disproportionate amount later.
What an owner can usefully do during it
Color mixing is one of the few stages where the owner's involvement genuinely improves the outcome.
Be available when the test patch is ready. You know the item and the room better than anyone, and a second opinion at that moment is worth more than any adjustment afterward.
Look at it from where you normally see the item — standing in the doorway, sitting opposite — rather than from six inches away.
Look at it at the time of day you normally use the room, and say if that is different from when the work is happening.
Say if something looks off even if you cannot name what. People are reliably good at detecting a mismatch and unreliable at describing it, and a specialist can work with the detection alone.
Turn the room lights on and off, since that is the comparison that catches metamerism.
And if the whole piece is being recolored, this is the moment to confirm whether you want it matched to its current state or taken back toward the original — a decision that is yours and is far easier to make in front of a test patch than in the abstract.
What can go wrong
The failure modes, since knowing them tells you what to look for in a result.
A match made only under one light source, which then fails under the other.
A match assessed wet rather than dry, since most of these materials shift as they dry.
A match made to a hidden original rather than to the adjacent aged material.
A standard color used straight from a bottle because it looked close enough in the pot.
Color applied too thickly, which cracks and reads as painted.
Sheen left as whatever came with the color, producing a gloss mismatch that shows from every angle.
And a repair blended mid-panel rather than worked to a seam, so the transition has to be perfect and rarely is.
Every one of those is avoidable, and every one of them is what people mean when they say a repair was visible.
Questions we get asked next
- Why does the color have to be mixed at my house?
- Because of metamerism — two colors can look identical under one light and visibly different under another. A match made in a workshop or from a photograph can be correct by every measure and still look wrong in your room, so it is checked under daylight and under the light the item lives in.
- Why not just use the manufacturer's original color?
- Because the item has aged away from it, and not simply gotten lighter — different pigments break down at different rates, so the hue shifts too. A repair in the original color is technically correct and visually wrong, because nothing else on the item is that color any more.
- How many attempts does a match usually take?
- Two or three iterations is normal, with each tested on a hidden area, allowed to dry and compared directly against the adjacent material. Difficult colors take more. It is confirmed before the full application rather than discovered afterward.
- Should the color mix be recorded?
- For a single repair it does not matter. For any phased or multi-item project it is essential, since materials get discontinued and a color matched by eye years later against aged items will not match the first phase. A documented mix plus a physical sample is part of the specification.
- field notes
- color mixing
- technique