How Do You Repair Grease and Color Loss on a Leather Recliner Headrest?
Every leather recliner fails in the same place first. The repair is routine — provided the grease comes out before anything goes on.
Quick answer
Degrease first, then rebuild. The headrest absorbs hair and skin oils over years, which darken the leather, break down the finish and leave a surface nothing will bond to. So the repair starts with thorough degreasing — often several passes — before any color goes on. Once the area is genuinely clean, it is filled where the finish has worn through, texture-matched and recolored, then sealed. Skipping or shortening the degreasing is why most headrest repairs fail.
At a glance
| The cause | Hair and skin oils absorbed over years at one contact point |
|---|---|
| What it does | Darkens the leather, breaks down the finish, then wears it away |
| Step one | Thorough degreasing — often several passes |
| Step two | Fill where needed, texture-match, recolor, seal |
| Prevention | A headrest cover, and wiping the area every few weeks |
Why the headrest always goes first
Look at any leather recliner more than a few years old and the headrest is the worst part of it, usually by a wide margin.
It is the one place on the chair where a person's head rests directly on the leather for hours at a time, in the same spot, day after day.
Hair carries oils, and so do the products people put in it. Skin on the neck and scalp produces sebum continuously.
Those oils transfer onto the leather and, unlike a spill, they are deposited constantly rather than in one event — so there is never a moment where anyone thinks to wipe it up.
The area is also warm, which helps the oils penetrate the finish and reach the hide beneath.
And recliners concentrate this more than sofas do, because a recliner has one occupant in one position rather than several people in shifting places.
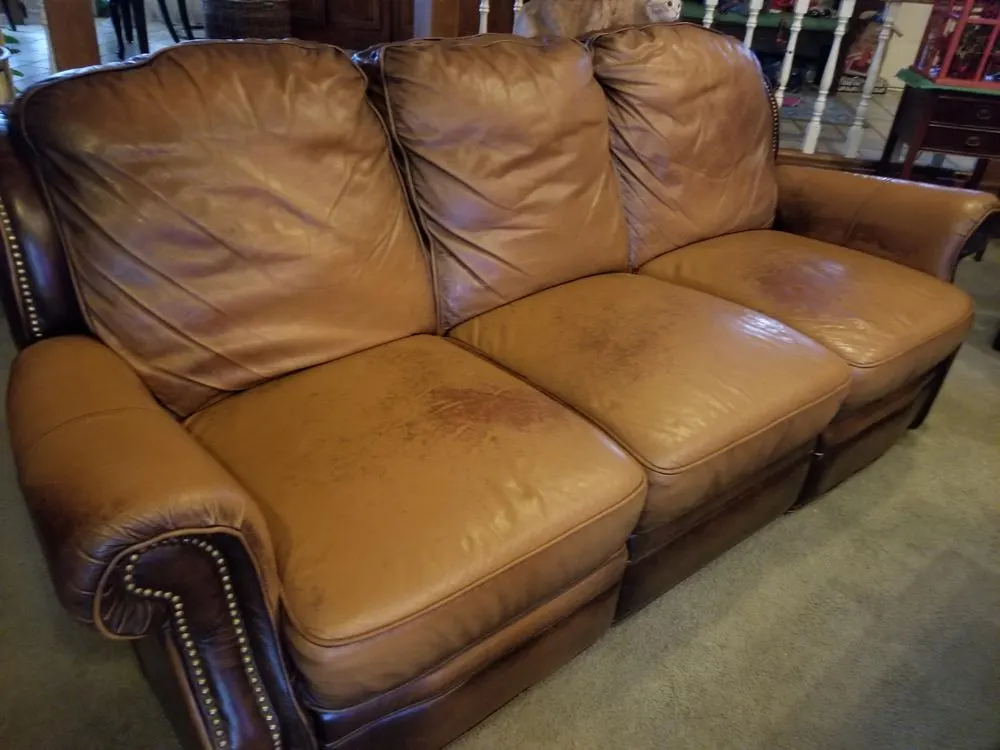
The result is a dark, sometimes shiny patch exactly the size of the back of somebody's head, which is one of the most recognizable pieces of damage in the trade.
What the oils actually do
It is worth understanding, because it explains why cleaning alone stops working.
First, oils sit on the finish and darken it. At this stage cleaning removes them and the leather returns to normal.
Then they begin to penetrate. Finishes are not perfect barriers, and constant contact with warm oil finds every weakness in the coating.
Once oil is in the finish layer, it plasticizes it — softens it and changes how it behaves. The surface becomes tacky, then shiny where it is rubbed.
The softened finish then wears away under the ordinary friction of a head moving against it, exposing the hide.
Oil reaching the hide darkens it permanently and changes how it takes color, which is why an untreated headrest ends up a different shade from the rest of the chair even after the surface is cleaned.
And at that point the area will not accept new color properly, because nothing bonds to a greasy surface.
So the damage is sequential, and each stage makes the next one easier.
Why degreasing is the whole job
If there is one thing that separates a headrest repair that lasts from one that fails in three months, it is this.
Coatings do not bond to oil. Any filler, color or topcoat applied over a greasy surface adheres to the grease rather than to the leather, and it lifts as soon as the area is used.
Ordinary leather cleaning does not remove absorbed oil. It removes what is on the surface, and the surface then looks acceptable while the material underneath is still saturated.
Proper degreasing uses products formulated to draw oil out of the hide rather than to clean the top of it, and it usually takes several applications with drying time between them.
On a heavily contaminated headrest this stage can take longer than everything that follows.
There is a simple test at the end: the area should look uniformly matte and slightly lighter than the surrounding leather, and it should feel dry rather than slick.
If it still looks glossy or feels smooth in the middle, there is more oil to come out, and proceeding at that point wastes the rest of the work.
Rebuilding after the degreasing
Once the area is genuinely clean, the rest is standard leather refinishing.
Any area where the finish has worn through, or where the surface has become uneven, is filled with a flexible compound in thin layers.
The texture is matched to the grain around it, so the repaired area does not read as a smooth patch in a grained surface.
Color is mixed to the chair as it is now, not to a factory reference, since the leather has aged and faded over the years the headrest was deteriorating.
It goes on in light coats rather than one heavy one, because thin coats flex with the hide and a thick coat sits on it as a shell.
Then a topcoat is applied, and the sheen is matched to the rest of the chair — this matters on a headrest, since a glossier patch at eye level is more noticeable than the original damage.
And it cures before anyone leans back on it, which is the part that needs planning rather than patience.
Doing the whole panel, and the other chairs
Two scope questions that make the difference between a repair you notice and one you do not.
First, work to the seam lines. Recoloring a head-sized patch and blending outward into the surrounding leather rarely satisfies, because the surrounding leather has faded and the blend shows at certain angles. Doing the whole headrest panel gives a clean visual break where the eye expects one.
Second, consider the matching chairs. Recliners are usually bought as a pair, or as a sofa with matching recliners, and only one of them has the problem — because only one person sits in it.
Refinishing one headrest to look new beside a matched chair that has faded for eight years produces two chairs that no longer match, which is more noticeable than the grease was.
The usual sensible answer is to recolor the headrest panels on both, which costs relatively little extra because the color is already mixed.
On a sectional with several headrests, the same logic applies across the piece.
It is worth raising before the work rather than after, since it is a scope decision rather than something that can be added afterward.
The rest of the recliner
While the chair is being assessed, a few other places usually need attention at the same time.
The arm tops, which take the same oils from forearms and hands, and which are the second area to go on most recliners.
The seat front edge, which flexes every time the chair is used and which cracks where the leather has stiffened.
The footrest surface, which flexes hard every time the mechanism operates and which has its own failure pattern.
The outer sides, which take knocks and pet contact.
And the seam at the top of the seat back, which takes load as people push back into the recline.
Doing these together is substantially cheaper than separately, because the cleaning, color mixing and setup are shared. On a chair being refinished for the headrest, adding the arms is a small increment.
Preventing it coming back
The repair addresses the damage. The habits address the cause, and without them the same patch returns.
A headrest cover or an antimacassar is the single most effective measure, and it is why they existed in the first place. A small cloth over the contact area takes the oils instead of the leather, and it washes.
Modern versions are unobtrusive, and on a chair that has already needed one repair the argument makes itself.
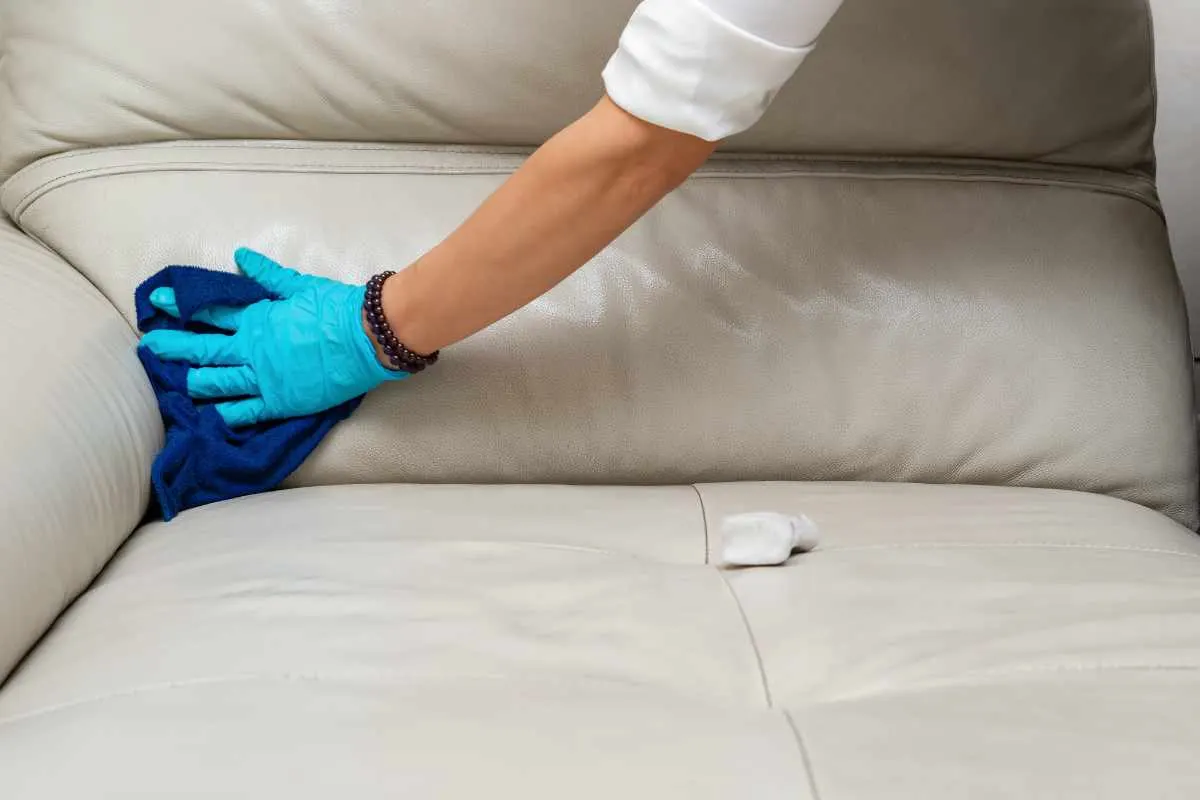
Wipe the headrest and arm tops every few weeks with a barely damp cloth. This removes oils before they penetrate, and it is the difference between a surface issue and an absorbed one.
Clean the whole chair properly and condition it three or four times a year.
Avoid heavy hair products where possible, since some are considerably more aggressive on finishes than natural skin oils.
And rotate which chair gets used where the household allows, so one seat does not take everything.
What household products do to this specific problem
Headrests attract improvised cleaning more than anywhere else on a chair, because the darkening is so visible.
Household wipes and all-purpose sprays strip the finish. On a headrest where the finish is already softened by oil, they remove it quickly, which turns a cleanable problem into a refinishing one.
Alcohol and hand sanitizer dissolve the finish on contact and leave a dull patch.
Melamine sponges sand off the grain, leaving a smooth shiny area that is more noticeable than the grease.
Dish soap is mild and it does not remove absorbed oil, so it produces a clean-looking surface over a still-contaminated one.
Hairspray and solvent-based products are worse still.
The honest advice is that a leather cleaner handles surface oils, and once the darkening no longer responds to it, the problem has moved into the material and needs proper degreasing rather than a stronger household product.
When the headrest cannot be recovered
There is a point past which refinishing is not the answer, and it is worth knowing.
Leather that has become soft, spongy or stretched from prolonged oil saturation has been changed structurally, and a coating on top of it will not restore the material.
Areas worn completely through to the backing or the foam need a panel replacement rather than a fill.
Bonded or coated synthetic headrests that are peeling rather than worn are a different problem entirely, and refinishing does not hold on delaminating material.
Leather that crazes under thumb pressure across the panel has stiffened past the point where a flexible repair helps.
In those cases the options are replacing the headrest panel — which on many recliners is a defined section that can be recovered on its own — or reupholstering the chair.
Panel replacement is worth asking about specifically, because it is often available and it is considerably cheaper than doing the whole chair.
What to send for an assessment
Photograph the headrest straight on in daylight, and again at a low raking angle so the sheen and texture show.
Photograph the whole chair, so the contrast between the headrest and the rest is visible.
Photograph the matching chair or sofa if there is one, since that usually affects the scope.
Run a finger across the darkened area and say whether it feels slick, tacky or dry.
Say whether the darkening improves at all with a leather cleaner, which distinguishes surface oil from absorbed oil.
Say what has already been tried on it, particularly any household product.
Say how old the chair is and how much it gets used.
And say whether the arms and seat front need attention too, because doing them in the same visit is far more efficient.
Questions we get asked next
- Why does my recliner headrest keep going dark after cleaning?
- Because the oil has moved into the finish and the hide, and ordinary cleaning only removes what is on the surface. The area looks acceptable briefly and the contamination underneath keeps showing through. It needs proper degreasing rather than more cleaning.
- Can the color be matched on just the headrest?
- Yes, and the better approach is usually to do the whole headrest panel to the seam lines rather than a head-sized patch, since blending into faded leather shows at certain angles. If there is a matching chair, doing both keeps them consistent.
- How long does a headrest repair last?
- As long as the cause is addressed. A properly degreased and refinished headrest wears like the leather around it. Without a headrest cover or a regular wipe-down, the same oils go back into the same spot and the darkening returns over a few years.
- Are headrest covers really necessary?
- They are the single most effective preventive measure, which is why they existed historically. A small cloth over the contact area takes the oils instead of the leather, and it washes. On a chair that has already needed one repair, it is an easy decision.
- recliner
- headrest
- grease