Can Two-Tone, Antiqued or Mottled Leather Be Color-Matched?
The finishes that look richest are the ones a single mixed color cannot reproduce. Matching them means reconstructing the layers, not the shade.
Quick answer
Yes, but not by mixing one color. An antiqued or two-tone finish is built from several layers — a base coat, a darker or lighter shading pass, sometimes a highlight, then a topcoat — and matching it means rebuilding those layers in the same order on the repaired area. It takes longer than a single-color match and it needs testing on the actual piece rather than a chart, but the result on a well-executed job is genuinely indistinguishable.
At a glance
| Why one color fails | The finish is layered, so a single flat mix reads wrong under any light |
|---|---|
| Method | Rebuild the layers in order: base, shade or highlight, then topcoat and sheen |
| Hardest part | Reading how the original was built, before any color is mixed |
| Most forgiving | Dark antiqued finishes where the shading is subtle |
| Least forgiving | High-contrast two-tone with a hard boundary between colors |
What a layered finish actually is
Most people assume the color of a leather sofa is one color. On plain pigmented furniture that is roughly true. On anything described as antiqued, distressed, two-tone, mottled, hand-rubbed or burnished, it is not.
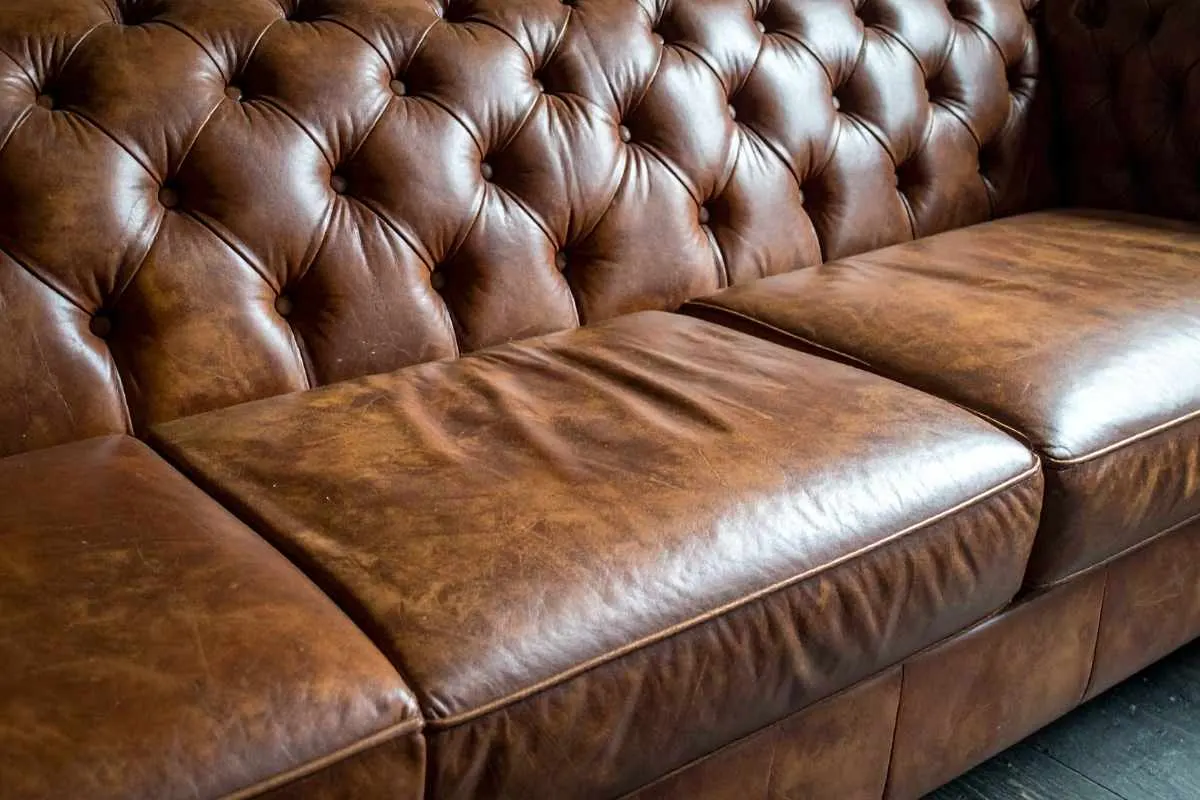
These finishes are built in stages. A base color goes on first, covering the hide evenly. Then a second color — usually darker — is applied selectively and partially wiped or blended back, so it settles into the grain and the low points while the raised areas keep more of the base.
Some finishes add a highlight on top, a lighter tone applied to the high points to increase the contrast. Then a topcoat seals it, and the sheen level of that topcoat changes how the whole effect reads.
The result is a surface where the color varies from point to point in a way that mimics natural aging. It is the reason those pieces look expensive, and the reason a single mixed color applied over a repair looks immediately wrong.
Why a single mixed color cannot work
If you mix a color to match what your eye reads on an antiqued panel, you will produce the average of the layers.
Applied to a repair, that average is a flat area of uniform color sitting inside a surface that varies. In diffuse daylight it may look close. Under a lamp, under raking light, or from an angle, it reads as a patch, because it lacks the depth the surrounding surface has.
The give-away is usually not hue at all — it is that the repaired area has no variation. The eye is extremely good at detecting a region where the texture of color stops.
This is the most common reason people are disappointed by an otherwise competent repair on a rich finish, and it is entirely avoidable by rebuilding rather than matching.
How the finish is read before anything is mixed
The first stage of the job is diagnosis, and it happens before any product comes out.
The surface is examined under strong raking light and under diffuse light, because the two reveal different things. Raking light shows how much of the effect is texture-driven — color sitting in the grain — and diffuse light shows the underlying tones.
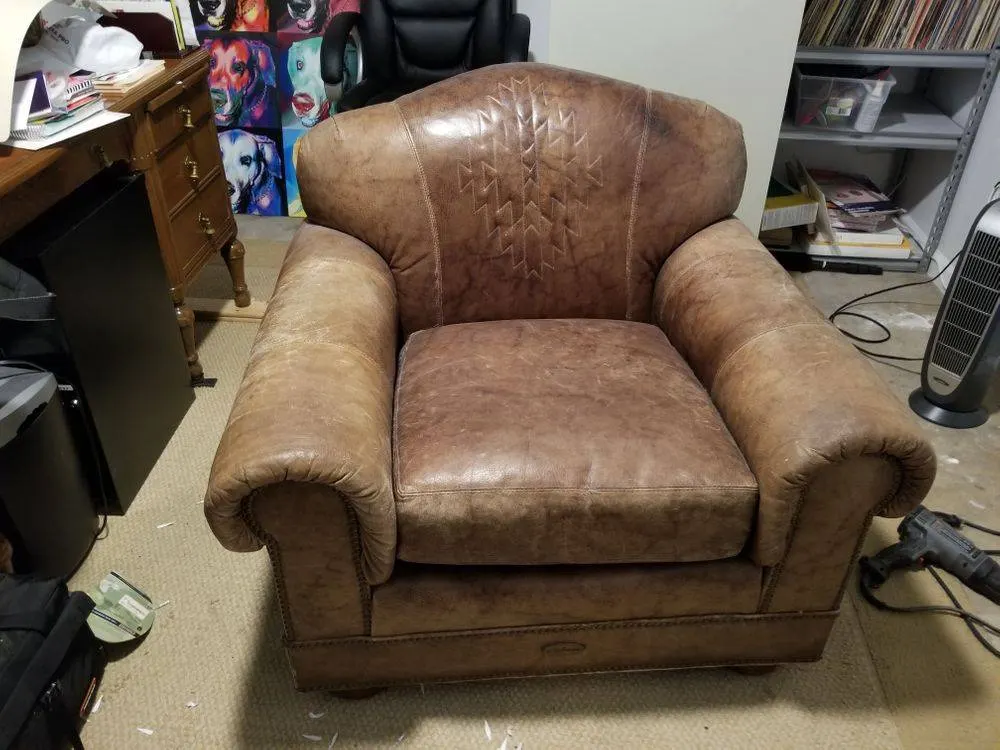
A worn area is often the most informative place to look, because wear removes upper layers first and exposes what is beneath. An armrest that has rubbed back frequently shows the base color directly.
A cut edge or a hidden area under a cushion shows the sequence too, and sometimes the original hide color before any finish was applied.
From that, the layers are identified: what the base is, what the shading color is, whether there is a highlight, and how the topcoat's sheen affects the result. Only then is anything mixed.
Rebuilding the layers on the repair
The repaired area is prepared and filled as any repair would be — cleaned, backed if there is a void, filled in thin flexible layers, textured to match the surrounding grain.
Then the layers go back in the original order. The base color first, covering the repair and feathered slightly into the surrounding leather.
The shading pass next, applied and manipulated the same way the original was — into the grain, wiped back on the high points, blended so its density matches the neighboring area rather than being uniform.
Any highlight after that, again matched in placement rather than just in color.
Then the topcoat, chosen for the same sheen level. This step is easy to underestimate: a matte repair in a satin panel is visible from across the room even when every color underneath is perfect.
Each stage is checked against the surrounding surface before the next goes on, because errors compound and a wrong base cannot be corrected by a later layer.
Which layered finishes are hardest
Not all of them are equally difficult, and knowing where yours sits helps set expectations.
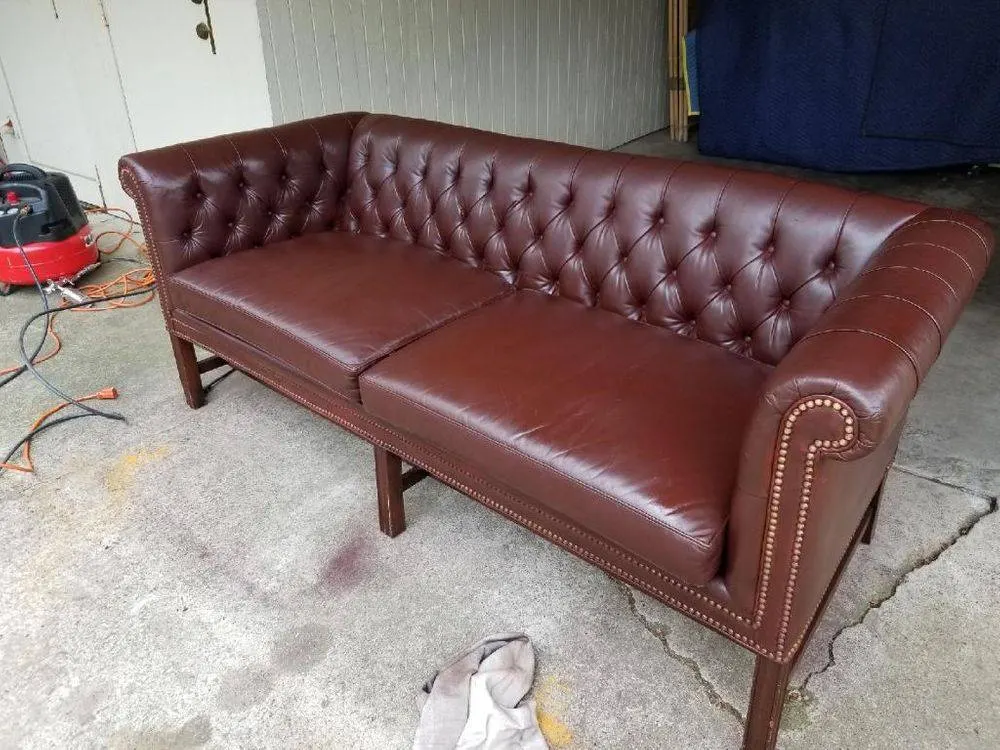
Subtle antiquing on a dark base — a chocolate or oxblood with slightly darker grain — is the most forgiving. The contrast is low, so small differences in the shading pass disappear.
Mottled and hand-rubbed finishes with soft, irregular variation are moderately difficult but very forgiving of imprecision, because the original is irregular by design. There is no exact pattern to match, only a character.
High-contrast two-tone finishes with a defined boundary are the hardest. Where a panel goes from tan on the high points to near-black in the recesses, both tones and the transition between them have to be right, and a boundary in the wrong place is obvious.
Pull-up and waxy finishes — where the color lightens when the leather is stretched — are their own challenge, because the repaired area needs to respond to flexing the same way the surrounding hide does.
Testing on the piece, not on a chart
This is non-negotiable on a layered finish, and it is a reasonable thing to ask about before booking.
Color charts show flat colors. A layered finish is not a flat color, so a chart cannot represent it. Matching has to be done against the actual leather, in the actual room, with the layers built as a test.
The test goes somewhere genuinely hidden — under a cushion, on the back of the piece, on the underside of an arm — and it is built through all its layers, then checked once dry.
It should be viewed in more than one light: daylight from a window, and whatever artificial light the room uses in the evening. Finishes that match perfectly under one can be noticeably off under the other, because different light sources emphasize different parts of the spectrum.
Only when the test reads correctly in both does the real work start. Skipping this is what produces repairs that look right on the day and wrong that evening.
What sun does to a layered finish here
North Texas sun complicates this in a specific way that is worth understanding.
Ultraviolet light does not fade all pigments at the same rate. On a layered finish, the shading color and the base color often fade differently, so a sun-exposed panel does not simply go lighter — it shifts in character, losing contrast or turning warmer.
That means matching a faded antiqued panel to an unfaded one is harder than matching two unfaded panels, because the two areas are no longer the same finish in any meaningful sense.
The honest answer in those cases is usually to blend across a wider area, or to refinish the whole piece so it comes back consistent. Matching a repair to a faded panel locks the fading in permanently, which looks fine now and looks wrong the moment anything else on the piece is cleaned or refreshed.
For owners, the preventive point is the usual one: keep layered finishes out of direct afternoon sun if you can, because they lose their character faster than plain pigmented leather does.
Questions worth asking before the work
Two questions separate someone who works with these finishes from someone who will apply a single mixed color.
Ask how they intend to match it. The answer should describe layers — a base, a shading pass, a topcoat with a specific sheen — rather than a color.
Ask where they will test it and whether you can see the test before the repair proceeds. On a layered finish that step is standard practice, and a specialist should expect the question.
It is also fair to ask what they expect the limit to be. On a high-contrast two-tone piece, an honest answer might be that the repair will be very close but findable if you know exactly where to look. That is a better outcome than a promise of invisibility followed by a compromise.
Photographing a layered finish for assessment
These finishes are the hardest to photograph usefully, and the standard advice matters more than usual.
Take a close-up of an undamaged area from about six inches, lit from the side rather than head-on, so the way color sits in the grain is visible. That single image tells a specialist more about the finish than any description.
Take a second close-up in flat, diffuse daylight, which shows the underlying tones without the texture dominating.
Photograph a worn area if there is one — an armrest or a seat front where upper layers have rubbed back — because it exposes the construction of the finish.
Then the usual damage set: wide shot, damage square-on, damage at a raking angle.
Absolutely no flash. On a layered finish, flash flattens the exact variation that defines it, and a flash photograph of an antiqued panel looks like a plain one.
And say what the piece means to you. Owners of antiqued and hand-finished furniture usually chose it for its character, and that changes the brief: the goal is to preserve the effect rather than to produce a uniform surface. A specialist who knows that will approach the job differently from one who assumes you want it looking flat and new.
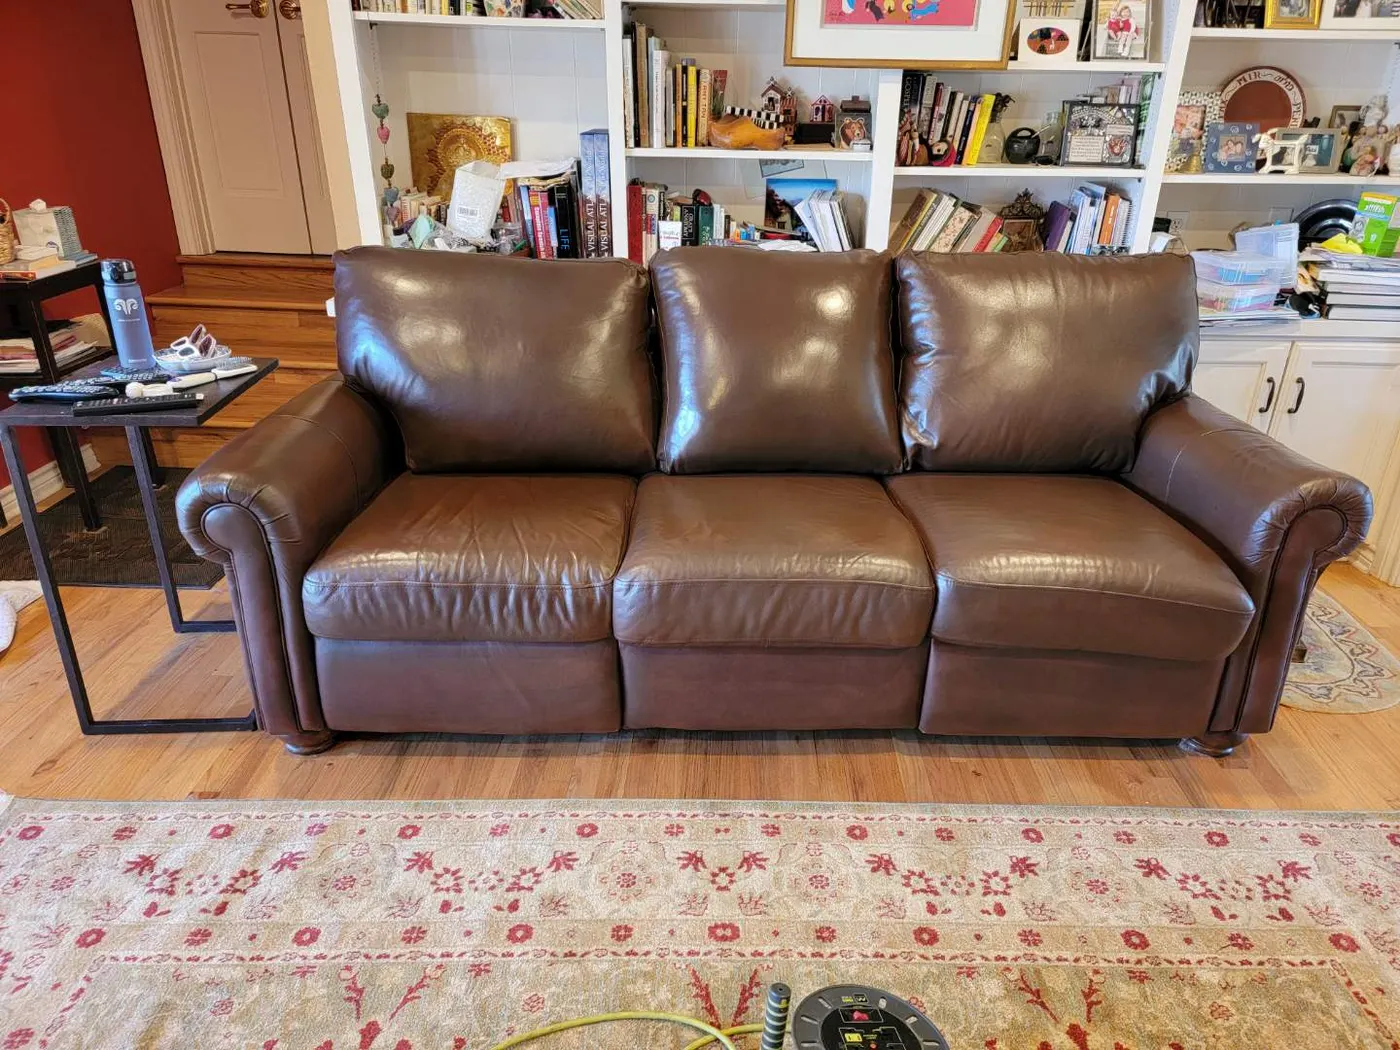
It is also worth photographing the piece as a whole in the room, not just in close-up. Layered finishes are designed to be read at a distance as much as up close, and how the effect reads across a whole sofa tells a specialist how much variation the finish carries and therefore how much has to be rebuilt into a repair.
If the piece was bought recently and you have any documentation, that helps too. Manufacturers name their finishes, and knowing that a sofa carries a particular antiqued or hand-rubbed finish sometimes identifies exactly how it was built, which shortens the diagnostic stage considerably.
Questions we get asked next
- Will a repair on my antiqued sofa be invisible?
- On a subtle antiqued finish over a dark base, usually yes. On a high-contrast two-tone finish, expect very close rather than perfect — and expect a specialist to tell you that in advance rather than after. The difference is worth knowing before you compare quotes.
- Can a layered finish be recreated if a whole panel has to be redone?
- Yes. A full panel is in some ways easier than a small repair, because the layers are rebuilt across a complete area rather than blended into a boundary. The work is matching the neighboring panels rather than matching a few inches of surrounding leather.
- My sofa lightens where it stretches. Does that change anything?
- That is a pull-up or waxy finish, and yes. The repaired area needs to respond to flexing the way the surrounding hide does, which is a specific requirement rather than an ordinary color match. Mention it when you enquire, because it changes the products used.
- Is it cheaper to just recolor the whole piece in one flat color?
- It is usually cheaper, and it permanently removes the character that made the piece look the way it does. That is a legitimate choice for a badly damaged piece, but it is a conversion rather than a repair, and it should be a decision rather than a default.
- color matching
- antiqued leather
- two-tone