How a Specialist Reads a Damage Photo Before Quoting
By the time a specialist looks at the damage in a photograph, they have usually already decided most of the quote.
Quick answer
The damage is looked at last. A specialist works through the material type, the condition of the surrounding surface, the wear pattern across the whole item, the panel geometry and the seam positions, and only then the damage itself. That order exists because the first four determine whether a repair will hold and how far it has to extend, while the damage only determines the method.
At a glance
| Looked at first | Material type and finish, from grain and reflectance |
|---|---|
| Then | The condition of the surface around the damage |
| Then | The wear pattern across the whole item |
| Then | Panel geometry and where the seams fall |
| Last | The damage itself, which only sets the method |
Why the damage is the least useful thing in the frame
This sounds contrary and it is the practical reality of assessing from photographs.
Two items with identical damage can produce completely different quotes, different methods and different recommendations.
What separates them is everything around the damage: what the material is, whether it is still sound, how the rest of the item has aged, and where the seams fall.
The damage itself only answers a narrower question — whether this is a fill, a backed repair, a rebuild or a stitching job.
So a specialist looking at a photograph is mostly looking past the damage at the surface around it.
That is why a tight close-up of a tear, with nothing else in frame, produces a quote full of caveats. It answers the least important question and none of the others.
And it is why the raking-angle shot and the wide shot are worth more than the obvious one.
First: what is this material
The first pass over any photograph, and several things give it away.
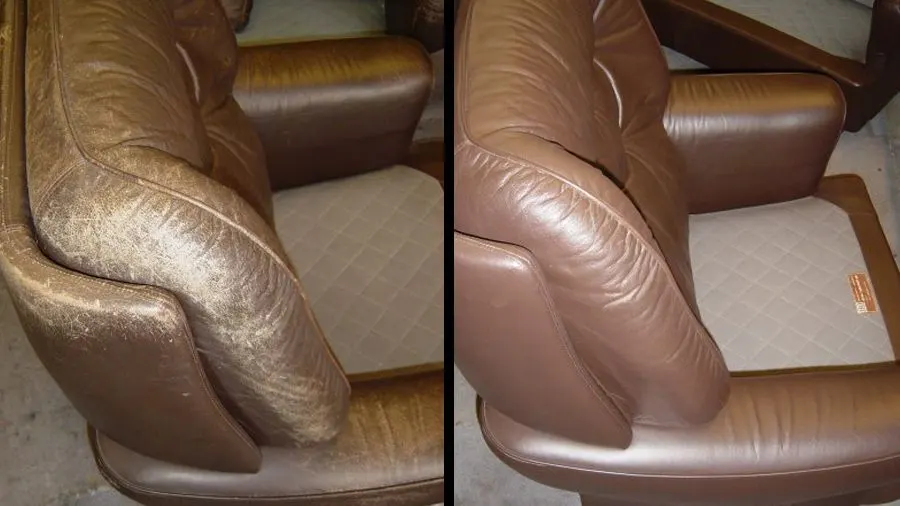
The grain pattern. If a pattern repeats exactly across a panel, it is embossed onto a manufactured material — vinyl, a coated synthetic, or a heavily corrected hide. Natural grain is irregular and never repeats, which is visible in a good photograph.
Whether the damage flakes or cracks. Flaking with a lighter fabric-looking layer beneath is bonded or coated synthetic. Cracking that runs into the material rather than lifting off it is hide.
The reflectance. Leather and vinyl reflect light differently, and a photograph taken at a raking angle shows this more than a face-on one.
The panel edges and how the material meets a seam, which shows thickness and how the material behaves when folded.
The construction. Panels cut and sewn from hide look different from material that came off a roll.
This single determination changes everything downstream, and it is the reason a water-drop test reported in words is so useful — it settles a question the photograph can only suggest.
Second: what condition is the surface in
The most important thing after material type, and the least obvious to an owner.
Look for fine crazing away from the damage — a network of hairlines across a panel, usually only visible at a raking angle. That means the material has stiffened and any repair will be surrounded by material that is still failing.
Look at the sheen. A surface that has gone dull and flat, or that has a chalky cast, is a degraded finish rather than a dirty one.
Look at how the material sits over the padding. Stiffened material bridges and creases rather than draping, and that shows in a photograph as hard folds rather than soft ones.
Look for a difference between exposed and shaded areas of the same panel. If the shaded part looks supple and the exposed part looks hard, that is exposure damage rather than age throughout, which is a far better outlook.
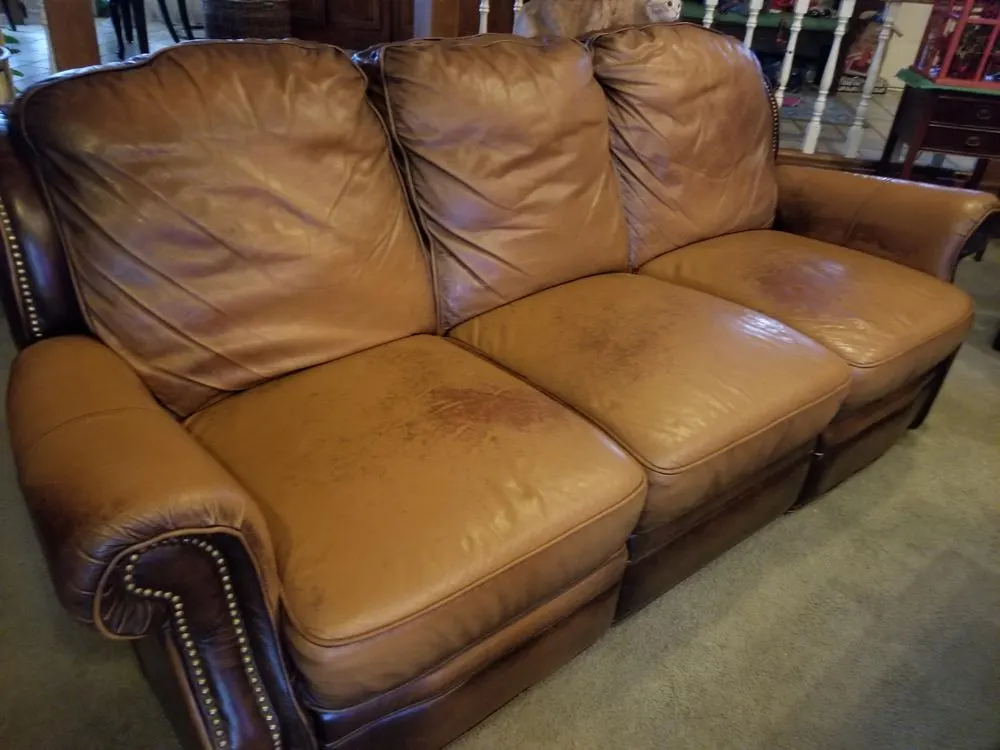
Look at the contact points for the shiny, darkened appearance that indicates absorbed oils, since that predicts how much degreasing is needed.
None of this is about the damage and all of it is about whether the work will hold.
Third: the wear pattern across the whole item
This is what the wide shot is for, and it answers questions the close-up cannot.
Is the damage isolated or is it one instance of something happening across the item.
Where is the wear concentrated — one seat, one arm, one end. That indicates how the item is used and predicts what will need attention next.
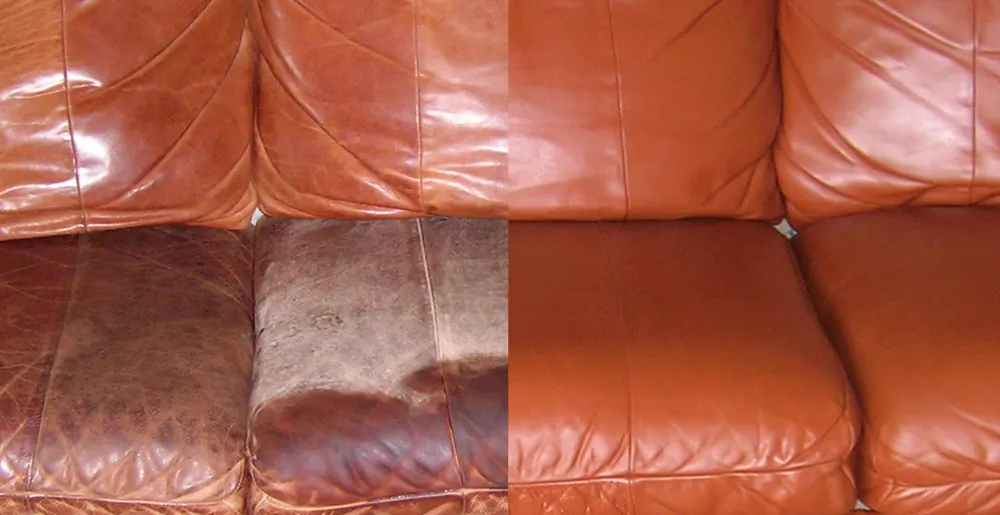
Is there a fading gradient across the piece. That points at a window, and it changes the scope conversation entirely, since recoloring one area on an unevenly faded piece rarely satisfies.
Are the contact points darkened relative to the rest, which indicates oil absorption and preparation time.
Do the panels that get no use look different from the ones that do, which separates use from environment.
And is there anything that has not been mentioned — a second area of damage, a seam starting to open, piping worn through — which is worth raising before quoting rather than discovering on arrival.
Fourth: geometry and where the seams fall
The part that sets the price more than the damage does, and it is why the panel shot matters.
Work runs to seam lines, because a repair blended mid-panel into aged material shows at certain angles.
So the size of the panel the damage sits in determines the working area.
A small tear in the middle of a large cushion top is a larger job than a bigger tear near a seam, which surprises people.
Whether the damage crosses a seam changes the method, since the seam and the material both need addressing.
Whether the panel is flat or curved matters, because a repair on a rolled arm or a bolster has to rebuild a shape rather than a surface.
Whether it is at a flex point — a cushion front edge, a recliner footrest, a bolster — determines the technique, since those need thin layers and a longer cure.
And whether there are matching panels or matching items in view, since those usually have to be included for the result to look right.
Last: reading the damage itself
Once everything else is established, the damage is quick to assess.
Depth. At a raking angle it is usually clear whether a mark sits in the finish or has cut into the material, which is the difference between a touch-in and a filled repair.
Whether material is missing. A split has material either side; a chew or a burn does not, and rebuilding volume is more work than closing a gap.
Whether the edges are clean or ragged and stretched, which affects how much has to be trimmed back.
Whether the foam is visible through the opening, which means the void has to be supported.
Whether there is discoloration around the damage — a heat ring around a burn, a halo around a solvent mark — since that usually has to be recolored even after the damage is repaired.
And whether anything has already been attempted, which is often visible as a mismatched patch, a shiny area, a hard edge or an odd texture.
The tells that something has been tried already
Worth a section, because it is the most common thing left out of an enquiry and it always shows on arrival.
A dull, flat patch with a hard edge, usually lighter than its surroundings — a solvent has removed the finish.
A smooth, shiny area in a grained surface — a melamine sponge has abraded the grain away.
A slightly raised area with a texture that does not quite match — a consumer repair kit.
A color patch that is close but not right, often with a visible boundary — a generic touch-up color.
A tacky or greasy surface — a heavy dressing, frequently silicone-based, which will have to be removed completely before anything can bond.
Adhesive residue around a tear, sometimes with fabric fibers in it — tape or a self-adhesive patch.
None of these are a problem to say. All of them change the preparation, and being told in advance means the right products come on the visit.
What a photograph cannot show
Being honest about the limits, since it explains why some quotes carry a variable.
Contamination depth. A headrest that looks like a straightforward recolor may need several degreasing passes, and nothing in a photograph indicates that.
Material flexibility. The single most important variable in the whole assessment cannot be seen — which is why the thumb-flex test reported in words is worth more than an extra photograph.
Foam condition. Whether a cushion has collapsed, or foam beneath a burn has melted, is a press test rather than a photograph.
Frame condition on furniture, which is a sit-and-shift test.
Odor, which is frequently the deciding factor on upholstery with a spill or pet history.
True color, since every camera and every light source shifts it — which is why a hidden-area reference shot matters more than an accurate-looking damage shot.
So the best enquiry is photographs plus a short written report of the things a camera cannot capture.
The one thing worth saying in the message
If a photograph set can carry only one line of text with it, this is the line.
What you want from the item — a fix that lasts as long as you keep it, or something presentable for a defined period.
Those are different jobs, both legitimate, and they lead to different recommendations on the same damage.
An owner keeping a sofa for another decade and an owner selling a car next month should not receive the same advice, and without that sentence a specialist is guessing.
It also prevents the awkward conversation where a thorough recommendation arrives for an item somebody wanted made presentable cheaply.
The second most useful line is what else in the house or on the site might be included, since that changes the per-item cost more than anything a photograph shows.
Everything else can be worked out from the images and the two tests.
How this changes what gets quoted
Bringing it together, since the point of the sequence is a decision rather than a description.
Sound material, isolated damage, clear seam boundaries — a contained repair, quoted with confidence.
Sound material, damage across several panels — the same method at a larger scope, and worth quoting at two scopes so the owner can choose.
Stiffened material — the honest conversation is about recoloring, recovering or leaving it, and a repair quote alone would be misleading.
Bonded material peeling — a holding measure at best, described as such, with recovering or replacement as the real options.
Heavy contamination — preparation becomes the largest part of the job and the quote should say so.
Uneven fading across a piece — scope is driven by the fading rather than by the damage.
And where the assessment says the work is not worth doing, saying that plainly is the most useful outcome an enquiry can produce.
Questions we get asked next
- Why does the specialist want photos of undamaged areas?
- Because the condition of the surface around the damage determines whether a repair will hold, and the wear pattern across the whole item determines how far the work has to extend. The damage itself only sets the method, which is the narrowest of the questions being answered.
- What can a specialist tell from a raking-angle shot?
- Depth, texture, sheen and fine crazing — all of which are invisible face-on. It shows whether a mark sits in the finish or has cut into the material, whether the grain is intact, and whether the surrounding surface has started to fail.
- Should I mention that I already tried to fix it?
- Always. It changes the preparation and it is visible on arrival regardless — solvent damage, abraded grain, kit filler and dressing residue all have distinctive tells. Saying so in advance means the right products come on the visit rather than a rescheduled one.
- Why can a small tear cost more than a bigger one?
- Because work runs to seam lines rather than to the damage. A small tear in the middle of a large panel means the whole panel, while a bigger tear close to a seam may mean less area. Panel geometry sets the price more often than damage size does.
- field notes
- assessment
- photos